Looking to repaint your walls? Whether you’re doing up a feature wall design or simply changing a fresh look due to Feng Shui, here’s a full step-by-step guide to guide you through the process!
Step 1: Prep the space
The first step to repainting your wall is to prep the area or room.
- Clear the area
Firstly, move all furniture and appliances out or to the middle of the room. This is to prevent any obstructions when you’re painting.
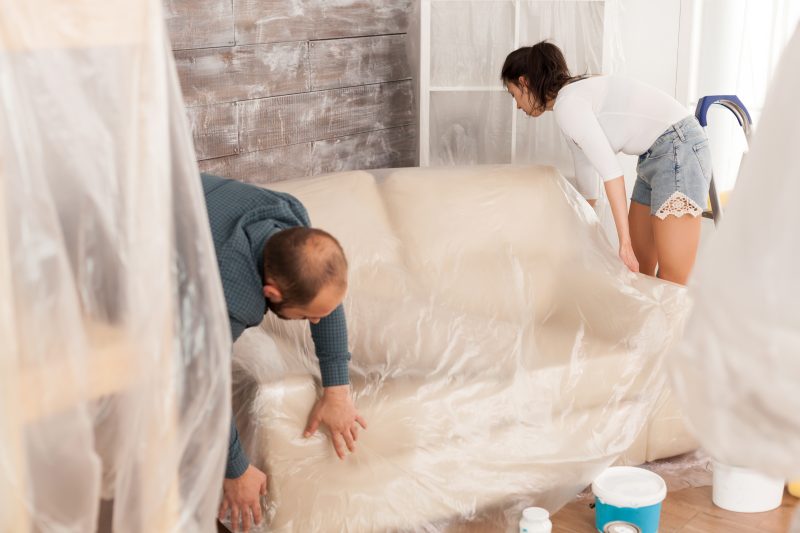
- Protect your furniture
Cover all items with plastic so that they won’t be ruined by drops of paint.
- Protect your floor
You should also protect your floor with a drop cloth for durability and stability. Otherwise, you can also use newspapers or plastic sheets.
- Protect your fixtures
For any fixtures (objects that aren’t movable), tape the edges with masking tape or painters’ tape. Ensure that the tape doesn’t cover any painted surfaces, otherwise the old colour won’t be painted over.
Step 2: Scrape off flaking paint
The next step is to scrape off any old paint that’s flaking off or curling up. To do this efficiently, you can use a paint scraper.
Step 3: Sand the surface
After scraping, the scraped parts may be uneven with the other areas of the wall. Painting over an uneven surface will highlight the ridges and edges.
Thus, sanding is required to smoothen the surface.
Step 4: Fill in gaps and cracks in the wall
Check for any gaps and cracks in the wall. These should be filled with sealants and fillers before painting is done.
- Recommended sealant: Selleys No More Gaps
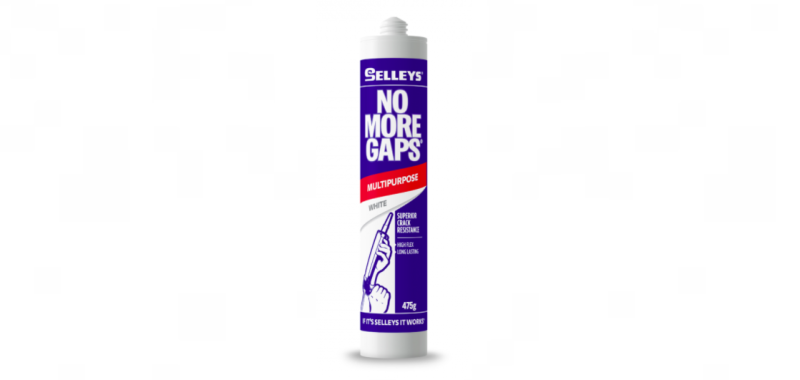
This gap sealant is ideal for covering gaps on walls, along skirting boards, around cornices and window frames. It can be easily painted over with oil- or water-based paints.
- Recommended filler: Selleys Spakfilla Rapid
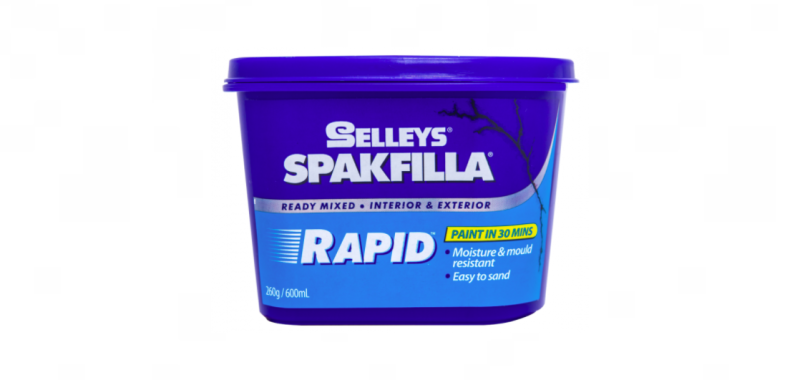
The Spakfilla Rapid is a fast-drying ready-mixed filler that can fill larger cracks in the wall. It is also paintable with oil- and water-based paints.
Step 5: Clean the wall
After filling any gaps, it’s time to clean the walls!
- Recommended wall cleaner: Selleys Liquid Sugar Soap
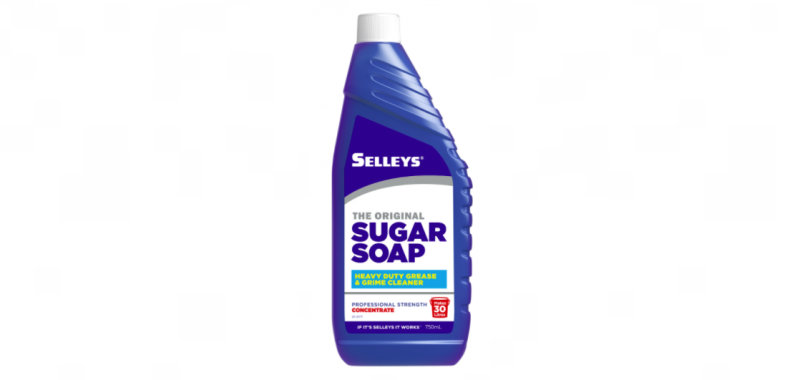
It’s recommended that walls are cleaned prior to painting to remove any dirt, grease and grime. This ensures that the new coat of paint adheres well.
Step 6: Use sealer to prime the wall
Now that the walls are clean, use a paint sealer to prep the wall.
Sealers are primers that are specifically designed to restore uneven surfaces. Simply apply a coat evenly to achieve a smooth finish.
This step is especially important if your wall has cracks that have been filled in with sealant or fillers, and if your current coat of paint is dark.
Using a sealer is more cost-efficient as compared to painting your new coat of paint immediately, as it might require multiple coats to cover the old colour.
- Difference between sealer and sealant
In the context of painting walls, sealants are adhesives used to fill gaps on a wall. Paint sealers are then used to reduce surface porosity and restore uneven surfaces so that the paint can adhere better.
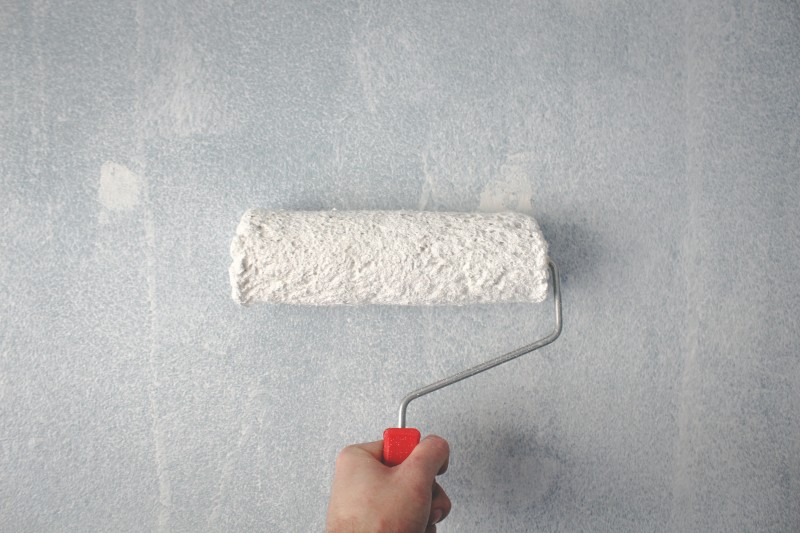
Step 7: Apply the new paint
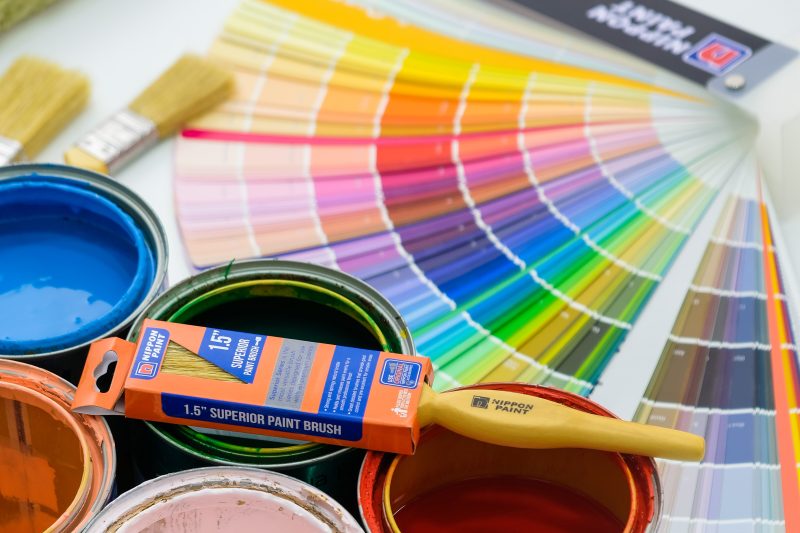
It’s finally time to paint your new colour! Here are 2 tips to keep in mind:
- Apply at least 2 coats of the new paint so that the colour pay-off is better.
- Allow each coat of paint to dry thoroughly before applying the next layer.
It’s best to wait at least 2 hours for the paint to dry. For the exact drying time, refer to the instructions on your paint can.
Selleys: Partner Brand of Nippon Paint Singapore
Selleys is a partner brand of Nippon Paint Singapore, and a trusted Australian brand with a long history in creating DIY products.
With the complementary nature of Selleys products, Nippon Paint Singapore is now more than just a paint brand; we’re a home improvement brand!
10 Insta-worthy and Practical Feature Wall Design Ideas That Will Impress Your Guests