After weeks of back and forth, you have finally decided to give your home a total makeover. Be it because you are sick of it after staring at them for years, or you’ve had a spark of inspiration from that last magazine you flipped through.
You might have read our comparison here and decided to tackle it head on and Do-It-Yourself, but of course there will be concerns in your head – what should I do with all these furniture? What kind of paint should I buy? – don’t worry, we’ve got you covered with a few tips you should take note of before actually starting your paint job.
1. Purchasing the right type of paint

topseller / Shutterstock
Paint is not universal, and there are various different kinds of paint suited for a variety of different paint jobs. Your job here is to get the right type of paint for your home.
Different paints cater to different environments and surfaces such as interior, exterior, wood, and metal. As you are going to repaint your home, you should consider purchasing your paint from the interior category. In Nippon Paint, our line of interior paintscomes with a spectrum of different colours and finishing,as well as specialised products to cater for your needs.
Protecting your furniture

bikeriderlondon / Shutterstock
No doubt painting is going to be a messy job, and your first concern would be to protect your furniture from getting caught in the works.
There are two ways around this situation – evacuation and protection. Let’s say you are only repainting your living room, you can move your furniture into any one of your spare rooms available so that they are out of your way during the paint job.
However, certain items such as your lovely sofa and the cute television stand will be unable to fit through the doorway, in this situation you’ll then have to take the protection approach. Move all such furniture to the centre of the room, then cover it with plastic so that any stray drops of paint will not get caught in them.
Protecting your floor

Steve Cukrov / Shutterstock
Many are too caught up in securing their furniture and forgot about the floor, don’t make the same mistake! The paint is sure to drip while you are painting and where will it land? That’s right, your beautiful floor.
To prevent your flooring from catching the distasteful droplets of paint, make sure they are protected with a drop cloth. Sure, newspapers and plastic sheets will work as well but they are not durable enough and will shift under your feet.
Taping

455 Tampines by MJS Interior Pte Ltd
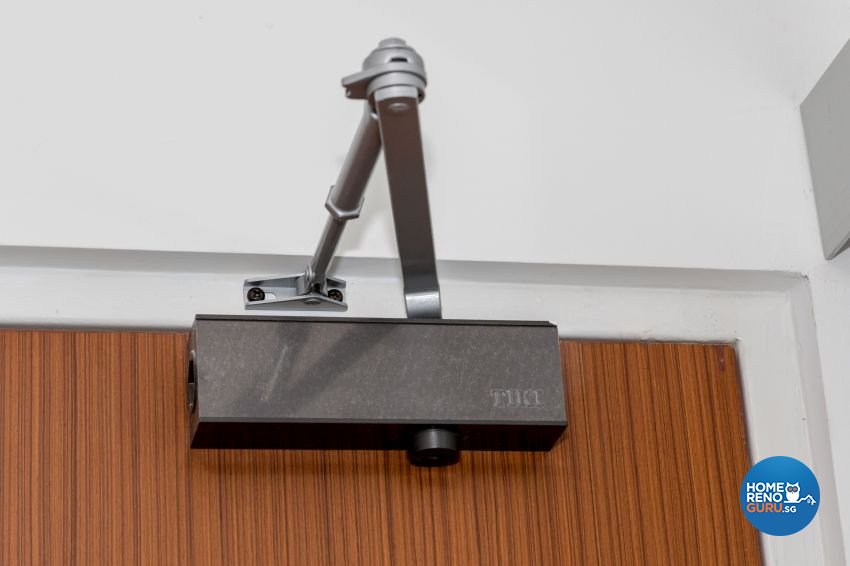
I’m sure you’ll not be very keen to get strokes of paint on your fixtures, so as usual, we should get them covered up as well. Fixtures would refer to your immovable objects such as windowsills, ceiling fans, as well as your wall sockets. Covering these fixtures up are simple but a little more tedious than the previous two, but you’ll appreciate the effort when everything’s done.
The approach to protect your fixtures is slightly different from your furniture and floors. Use masking tape to wrap around the fixtures, with all sorts of little corners and edges this will take you some time. Even though taping is a no-brainer job, keeping it precise is important. Make sure that none of your masking tapes are on the wall to be painted or else the old colour will linger around.
Yourself!

Marie Maerz / Shutterstock
Now that you are done protecting everything in your house, don’t forget about yourself!
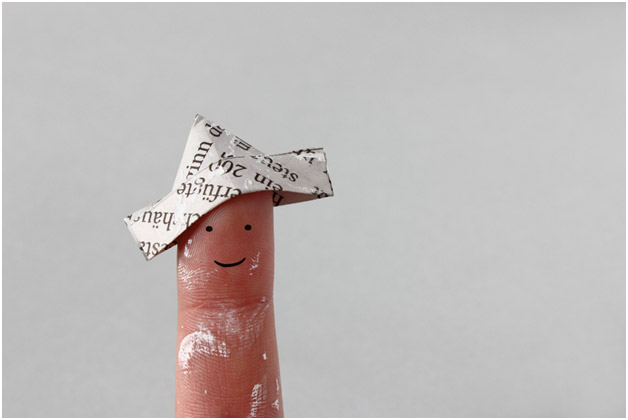
Rummage deep into your closet and fish up that old t-shirt you haven’t worn for years and put it on, there will be no heartbreak when you have to throw it away later on. Put your inner-craftsman into good use and construct yourself a fancy newspaper hat and vest to match that old t-shirt you’re wearing. These will prevent the paint from landing on your hair and body.
Plan

Roobcio / Shutterstock
Lastly, plan your work area. The room to be painted isn’t small, but I would advise against carrying the bucket of paint here and there whenever you move on to a new corner, there is bound to be paint droplets escaping the sanctuary of the bucket and calling your unprotected floor its new home. So, set up base somewhere easily accessed from any part of your room and make sure that the bucket of paint and what not you have and placed on a thick layer of newspaper.
You are ready to start painting once you’ve gotten these six points covered! Don’t forget to have fun during the process and greet your newly painted home with a wide smile.
5 Colour Schemes That Spell "Home Sweet Home"
